How to Move a WordPress Site to a New Host (2026 Guide)
The easiest way to move WordPress is usually your new host’s migration service or a migration plugin. Copy the site, test it at the new host, then switch DNS. Keep the old hosting active until the new site and email work. The manual method below gives experienced users more control.
Before You Start: A Short Checklist
Most failed moves come down to one forgotten detail. Spend ten minutes here first.
- Make a full backup you can restore, files and database, saved off the old server. Our comparison of WordPress backup plugins covers good free options.
- Keep the old hosting account until the new site has been live for a few days.
- Note your WordPress and PHP versions. Ask the new host for the same PHP version, or a newer one your plugins support.
- Check where your email lives. If the old host runs your email, write down your MX records (the DNS records that route mail) before you change anything.
- Lower your DNS TTL a day ahead. TTL (time to live) tells DNS servers how long to remember a record. A short TTL makes the final switch reach visitors faster.
- Freeze changes during the move. On a store or busy blog, pause orders, comments and new posts so nothing gets lost between the copy and the switch.
Still choosing a host? Our WordPress hosting reviews compare intro and renewal prices, speed tools and support.
Method 1: Let Your New Host Move It
Many hosts will move a WordPress site for you at no charge. As of October 2026, Hostinger’s migration page says every hosting plan comes with unlimited free website migrations. Kinsta says its team moves sites for free in less than a day, with expedited moves in as little as 8 hours. Our Hostinger review and Kinsta review cover both services.
You usually hand over your old hosting panel, SFTP or WordPress login in a request form. Change those passwords once the move is done. The DNS switch and the final checks below are still your job.
Method 2: Move WordPress With a Plugin
A migration plugin packs your database, media, themes and plugins into one file on the old site, then unpacks it on a fresh WordPress install on the new host. We used All-in-One WP Migration version 7.111. Our step-by-step All-in-One WP Migration guide walks through every screen, so this section sticks to what happened during a real move.
1. Install WordPress on the new host. The plugin imports into a working WordPress install. Most hosts have a one-click installer.
2. Export from the old site. Install the plugin, then go to All-in-One WP Migration, Export, Export Site To, File. On our test site the export took about 3 seconds and made a 20 MB file. Most of that was the three default WordPress themes (about 15 MB on disk). The images took only 3.4 MB.
3. Import on the new site. Install the plugin on the new install, open Import, and drop in the file. This is where most people get stuck.
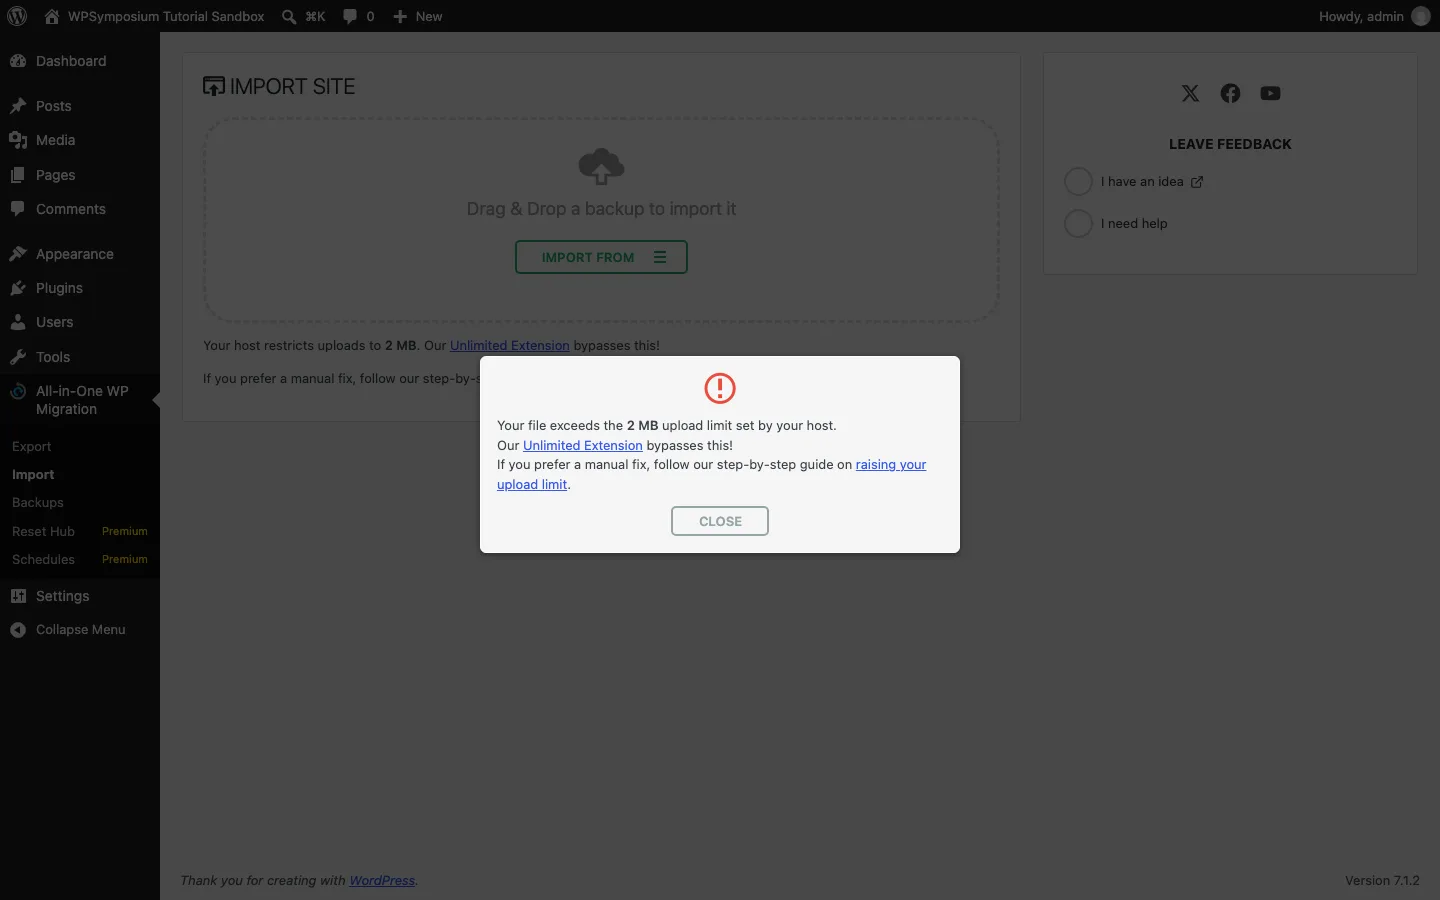
Importing a 20 MB file into a new install with PHP’s default 2 MB upload limit, All-in-One WP Migration 7.111.
Our new install had PHP’s default upload limit of 2 MB, so the plugin refused the file. ServMask’s paid Unlimited Extension ($69/year, up to 50 sites) removes the limit. You can also raise it yourself. On our Apache test server, these lines in the WordPress folder’s .htaccess file were enough:
php_value upload_max_filesize 256M
php_value post_max_size 256M
php_value memory_limit 256M
php_value max_execution_time 300
After that the import screen reported a 256 MB limit. Some hosts ignore php_value lines. On those, change the limit in the hosting panel’s PHP settings or ask support.
Before it starts, the plugin warns that the import “will only replace matching content. Other items stay unchanged.” So anything extra on the new install, such as a theme your host preinstalled, stays put. Delete what you don’t need afterward.
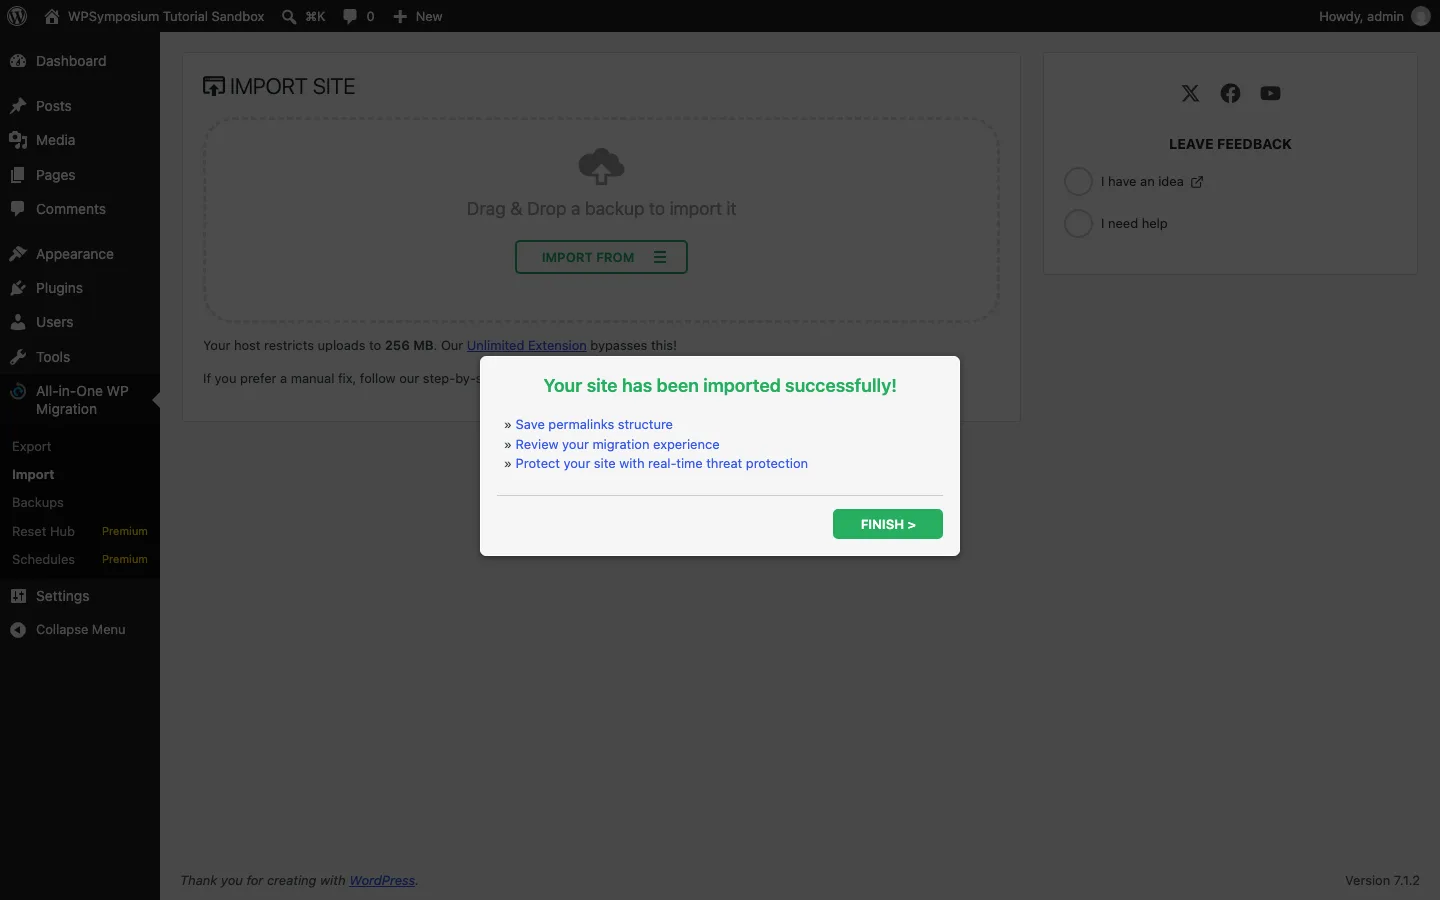
The finished import on the new install, about 8 seconds after the upload started, All-in-One WP Migration 7.111.
The upload and restore together took about 8 seconds. The title, posts, pages, images, comment and permalink setting all matched the old site. The plugin also rewrote the old address to the new one by itself: a database check found zero links left pointing at the old URL. Log in with the old site’s username and password, because the import replaces the new install’s users. Then go to Settings, Permalinks and click Save once, as the success pop-up suggests.
Duplicator is the other popular free choice, with 1 million+ active installs on WordPress.org as of October 2026. It packages the whole site, WordPress included, and installs it with its own installer, so the new host doesn’t need WordPress set up first. Our Duplicator review times a full move with its installer.
Method 3: Move WordPress Manually With WP-CLI
A manual move has no file size limits and no plugin in the way. You need SSH access on both hosts and WP-CLI, the official command line tool for WordPress. Without SSH, the same steps work with SFTP for files and phpMyAdmin for the database.
Step 1: Export the database and pack the files
On the old server, from the WordPress folder:
wp db export maple-street.sql
tar -czf site-files.tar.gz --exclude=./wp-content/ai1wm-backups --exclude=./maple-street.sql .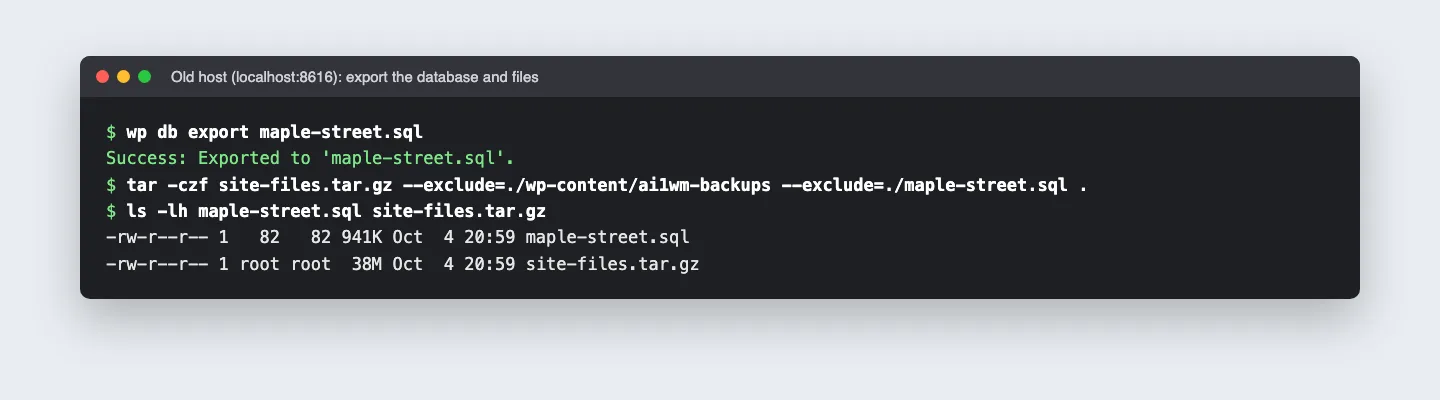
Exporting the database and packing the files on our test site, WP-CLI with WordPress.
Our database file was 941 KB. The files archive was 38 MB because it holds WordPress itself, the themes and the uploads. Each command finished in 3 to 5 seconds. Leave out old backup folders (like ai1wm-backups here) so you don’t copy backups of backups.
Step 2: Copy both files to the new host
Download and re-upload them with SFTP, or copy them server to server with scp or rsync. On a real site this is the slow step. It depends on your connection and the size of your media library.
Step 3: Create a database on the new host
In the new host’s control panel, create an empty database and a user with full rights to it. Write down the database name, user, password and host. The host is often localhost, but not always.
Step 4: Unpack the files and edit wp-config.php
tar -xzf site-files.tar.gzOpen wp-config.php and set DB_NAME, DB_USER, DB_PASSWORD and DB_HOST to the new values. Our guide to editing wp-config.php safely shows where they are. If the new database uses a different table prefix, match $table_prefix too.
Step 5: Import the database
wp db import maple-street.sqlStep 6: Change the URL, but only if it changes
Plenty of guides get this step wrong. If you keep the same domain, you don’t need to change any URLs. WordPress’s own documentation says that when the database and URL stay the same, you can move by copying the files and database. Your links already point at your domain, and the domain will point at the new host after the DNS switch.
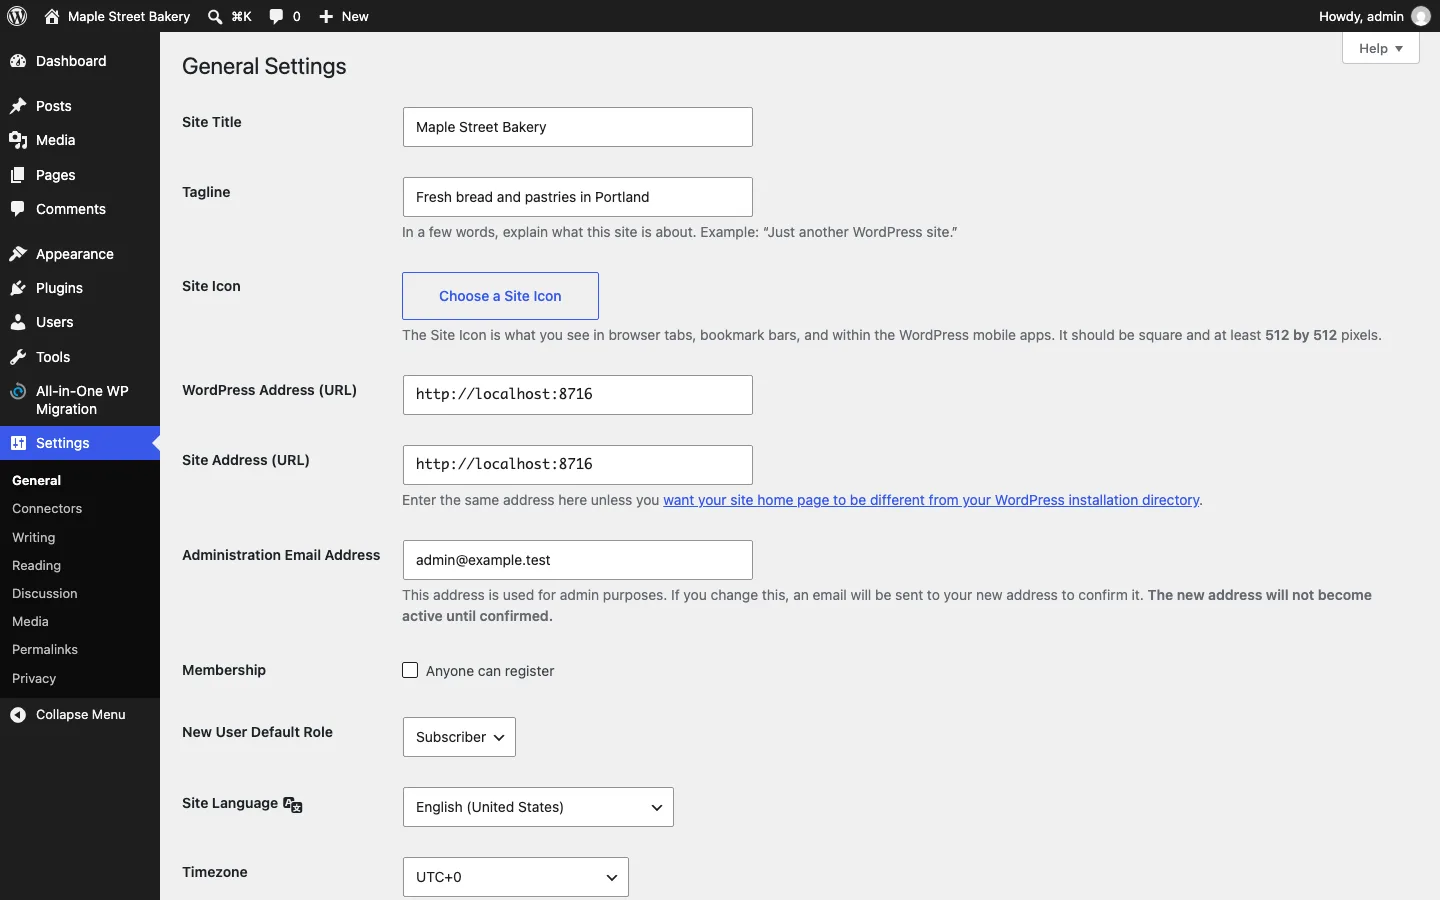
You need a search and replace only when the address changes: a new domain, http:// to https://, or testing on a temporary URL. Our test move went from one address to another, so we needed it.
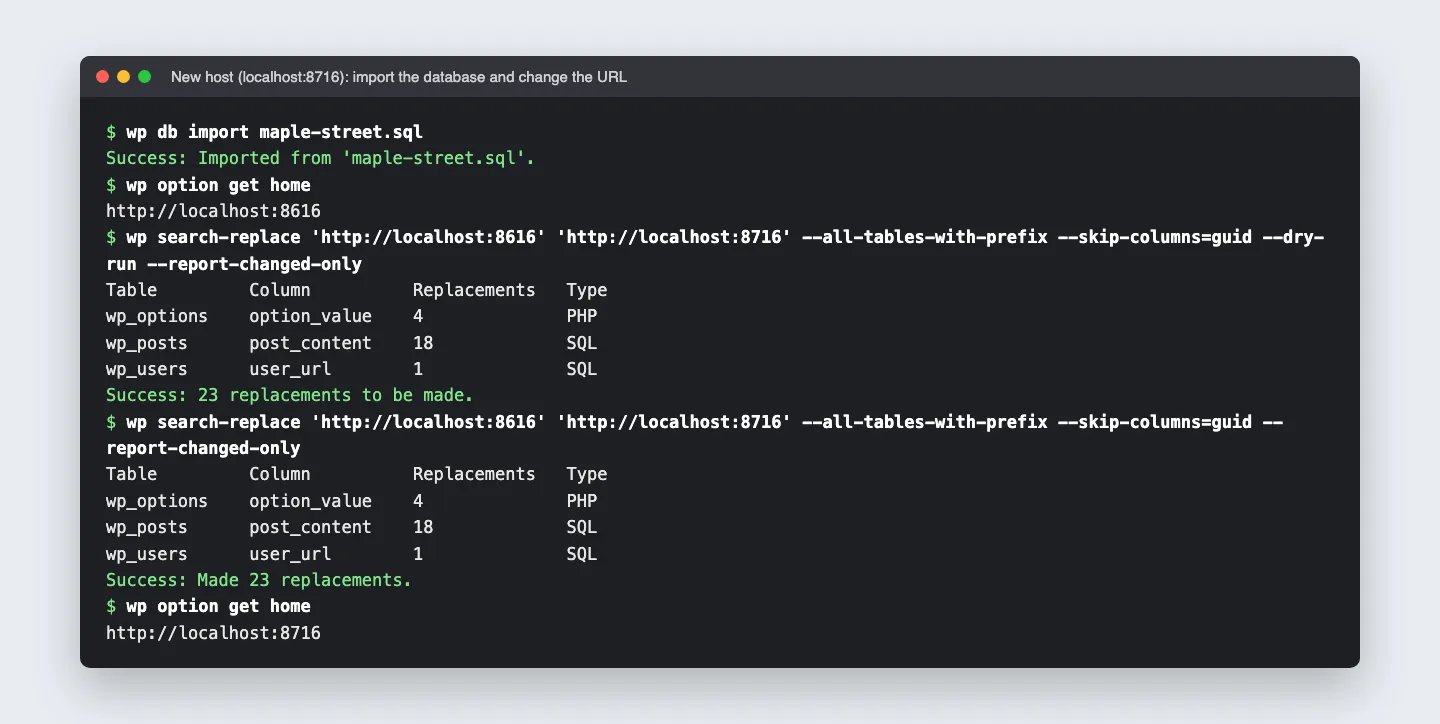
Importing the database and changing the URL on the new host, dry run first, WP-CLI with WordPress.
wp search-replace 'http://old-domain.com' 'https://new-domain.com' --all-tables-with-prefix --skip-columns=guid --dry-run
wp search-replace 'http://old-domain.com' 'https://new-domain.com' --all-tables-with-prefix --skip-columns=guid
wp rewrite flush
wp cache flush
What our test site taught us:
- Run
--dry-runfirst. It counts the changes without saving them. Ours reported 23: 4 in site options, 18 links inside posts, and 1 user profile URL. - Settings alone is not enough. Changing only the two URLs under Settings, General would have left all 18 in-post links and images pointing at the old address.
- Skip the GUID column. WordPress’s documentation says the posts table’s
guidfield should never change, because feed readers use it to recognize posts they have already shown. Our first run without--skip-columns=guidchanged 55 values, 32 of them GUIDs. With the flag, it changed 23. - Never edit URLs in the SQL file with a text editor. Many plugins store settings as PHP “serialized” data, which records the length of each text value. Change a URL’s length by hand and those settings break. WP-CLI handles serialized data correctly. Without SSH, the free Better Search Replace plugin does the same from the dashboard.
After the flush commands, every page and image loaded at the new address, and no links pointed at the old URL.
Test the Site Before You Switch DNS
Your domain still points at the old host, so how do you see the new copy? Edit your computer’s hosts file. It tells your computer alone to skip public DNS for a domain and use an IP address you choose.
- Find the new server’s IP address in your new host’s dashboard.
- Open the hosts file as an administrator:
C:\Windows\System32\drivers\etc\hostson Windows,/etc/hostson macOS and Linux. - Add a line such as
203.0.113.10 example.com www.example.comwith the new IP, and save. - Visit your site. Log in, click through key pages, submit a form, check images and checkout.
- Delete the line when you’re done.
Some hosts give you a temporary preview URL instead. If you test that way, the URL stored in the database has to match the address you use.
Point Your Domain to the New Host (DNS)
Once the site works on the new host, point the domain at it. There are two common ways:
- Change the A record (and
www) at your current DNS provider to the new server’s IP. Your other records, including email, stay as they are. - Change the nameservers at your registrar to the ones your new host gives you. This moves all of your DNS to the new host, so copy every record first, especially MX records for email and TXT records for email security and site verification.
The change doesn’t reach everyone at once. DNS servers keep a record for as long as its TTL says, and Cloudflare’s documentation notes that a longer TTL means updates take longer to reach users. That’s why you lowered it a day early. For a while, some visitors see the old host and some see the new one, which is why you froze changes.
Keep the old account for a few days to a week after the switch. If something turns up missing, you can still copy it across.
Set Up SSL on the New Host
Your SSL certificate (the padlock and https://) doesn’t move with your files. The new host has to issue one.
Most hosts use free Let’s Encrypt certificates. Let’s Encrypt’s most common check, called HTTP-01, works over port 80 on your domain, so the domain must point at the new server before the certificate can be issued. In practice you switch DNS, wait until the domain loads from the new host, then turn on free SSL in the panel (many hosts do this automatically) and make sure http:// redirects to https://.
That can leave a short window with a certificate warning. Some hosts avoid it with a DNS-based check or let you upload your existing certificate. Ask yours which it does.
If the old site ran on http:// and the new one on https://, run the search-replace from Method 3 from the http:// address to the https:// one. Otherwise browsers flag “mixed content”, meaning HTTPS pages that still load images or scripts over HTTP.
After the Move: What to Check
- Open the home page, a few posts and pages, and a category archive.
- Log in and save Settings, Permalinks once.
- Submit every form and confirm the email arrives. An SMTP plugin may need new settings.
- Clear your caching plugin and CDN.
- On a store, place a test order and check payment webhooks.
- Confirm scheduled posts and backups still run, and set up backups on the new host. A staging plugin is worth adding for future updates too.
- Watch Google Search Console for new errors over the next few weeks.
Common Problems and Fixes
“Error establishing a database connection.” The details in wp-config.php don’t match the new database. Check name, user, password and host one at a time.
The site redirects to the old domain. The siteurl and home options still hold the old address. Check with wp option get home and run the search-replace.
The home page works but other pages return 404. The rewrite rules are missing. Save your permalinks, and on Apache make sure .htaccess came across.
Images are missing. Either wp-content/uploads didn’t copy fully, or image links still point at an old address.
The plugin import fails or stalls. Raise the upload limit as shown above, or move the site by hand.
White screen or “There has been a critical error.” Often a PHP version mismatch. Compare versions on both hosts and read the error log in the new host’s panel.
Leaving a host because the account is about to expire? Our GoDaddy alternatives guide covers the order of steps for that case.